 Save
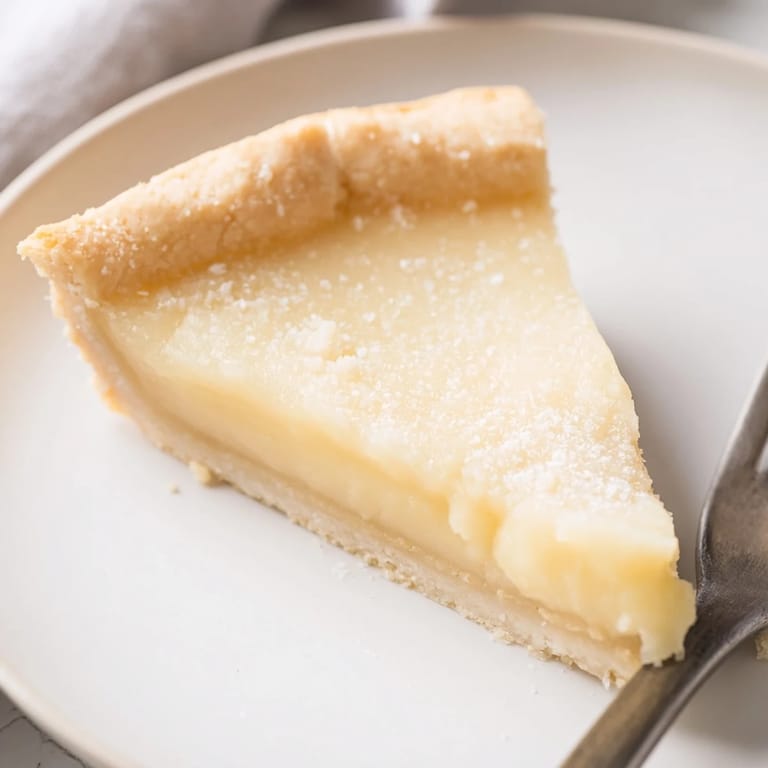
Save A nostalgic dessert from the Great Depression era, water pie transforms simple pantry staples into a surprisingly creamy, custard-like treat with a delicate vanilla flavor and crisp, sugary crust.
I first tasted water pie during a family gathering that celebrated old-fashioned recipes. Its creamy texture and subtly sweet flavor instantly reminded everyone of simpler times and kitchen ingenuity.
Ingredients
- 1 unbaked 9-inch pie crust: Store-bought or homemade
- 1 1/2 cups water: Cold or room temperature
- 4 tablespoons unsalted butter: Sliced into pats
- 3/4 cup granulated sugar: For sweetness
- 3 tablespoons all-purpose flour: Adds creaminess
- 1 teaspoon vanilla extract: For flavor
- Pinch of salt: Balances sweetness
Tired of Takeout? 🥡
Get 10 meals you can make faster than delivery arrives. Seriously.
One email. No spam. Unsubscribe anytime.
Instructions
- Prep the oven:
- Preheat your oven to 400°F (200°C)
- Prepare the crust:
- Place the unbaked pie crust into a 9-inch pie pan, crimping the edges as desired
- Add water:
- Pour the water directly into the pie crust
- Mix dry ingredients:
- In a small bowl, mix together the sugar and flour until thoroughly combined. Sprinkle this mixture evenly over the water in the crust
- Add flavor:
- Drizzle vanilla extract over the top and add a pinch of salt
- Top with butter:
- Slice the butter into thin pats and distribute them evenly over the surface
- Bake:
- Carefully transfer the pie to the lower rack of the oven. Bake for 30 minutes at 400°F (200°C)
- Finish baking:
- Reduce oven temperature to 375°F (190°C) and bake for 20 minutes, until the crust is golden and the filling is set with a slight jiggle in the center
- Cool and serve:
- Remove from the oven and allow to cool to room temperature. Refrigerate for at least 2 hours before slicing
 Save
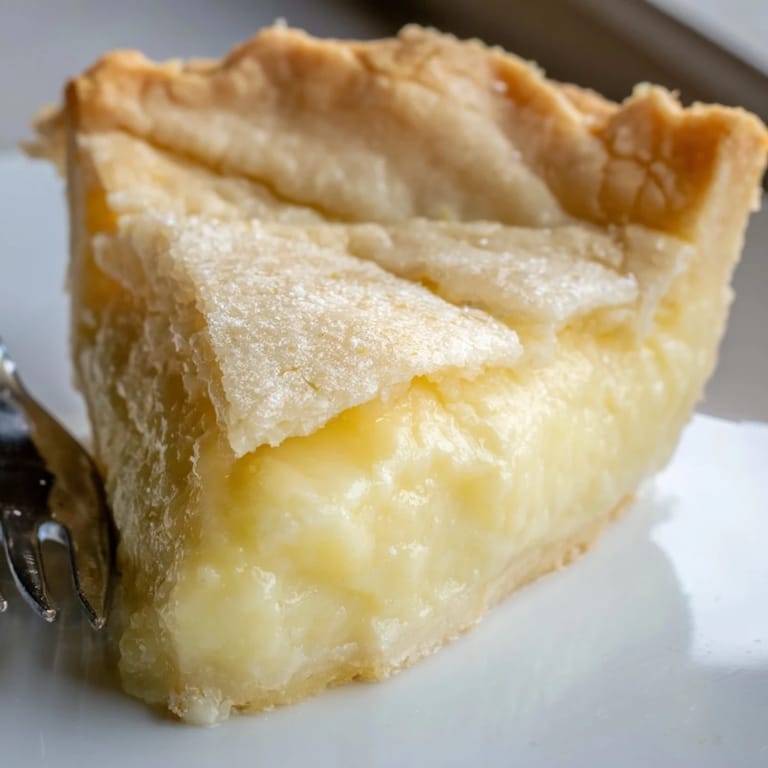
Save Whenever Grandma baked water pie for us, she would always serve it with fresh berries, turning a humble treat into something truly special. Sharing slices together brought everyone around the table for stories and laughter.
Serving Suggestions
Enjoy water pie chilled with whipped cream or a handful of fresh berries. It also pairs wonderfully with hot tea or coffee for a comforting dessert moment.
Storage Tips
Store any leftover water pie covered in the refrigerator for up to 3 days. For best texture, serve directly from the fridge and slice with a sharp knife.
Nutritional Information
Each serving contains approximately 210 calories, 8 g fat, 33 g carbohydrates, and 2 g protein. This makes it a lighter dessert option that's easy to share with a crowd.
 Save
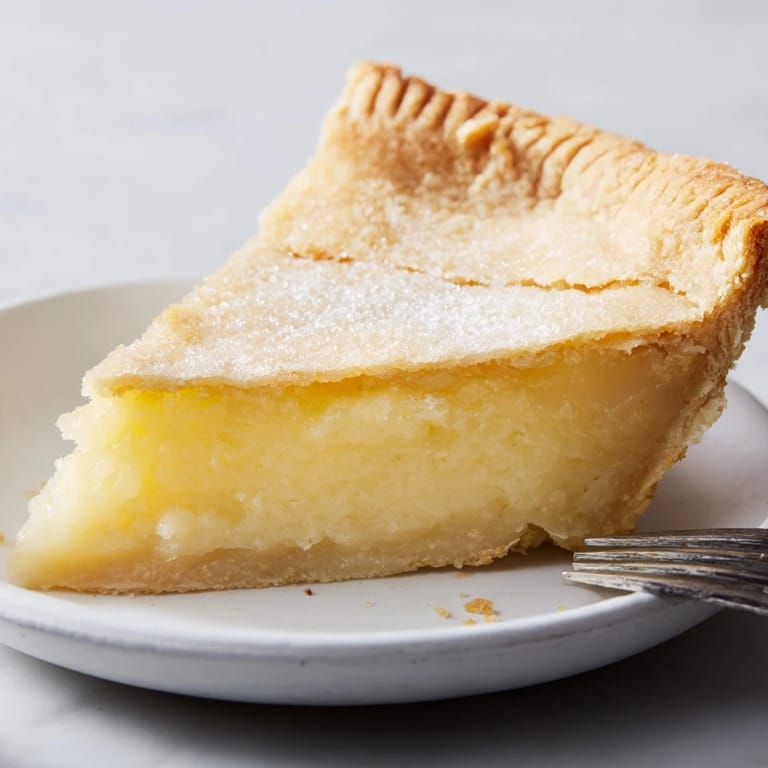
Save Water pie proves that simplicity in ingredients can lead to something unexpectedly delicious. Share this nostalgic treat and enjoy a taste of history.
Cooking Questions
- → What gives water pie its creamy texture?
The combination of water, butter, sugar, and flour creates a custard-like filling with a smooth, creamy consistency.
- → How do I know when water pie is done baking?
Bake until the crust is golden and the filling jiggles slightly in the middle, indicating it’s set but still soft.
- → Which flavors can be added to water pie?
Vanilla provides the classic flavor, but adding cinnamon or nutmeg before baking gives a warming twist.
- → Can water pie be made vegan?
Yes, substitute plant-based butter and a vegan pie crust to enjoy a dairy-free version of this dessert.
- → What is the best way to serve water pie?
Cool completely and chill before slicing. Top with fresh berries or whipped cream for enhanced taste.
- → Is water pie suitable for those with allergies?
It contains wheat and dairy. Check store-bought crust ingredients for possible egg, dairy, or soy content.