 Save
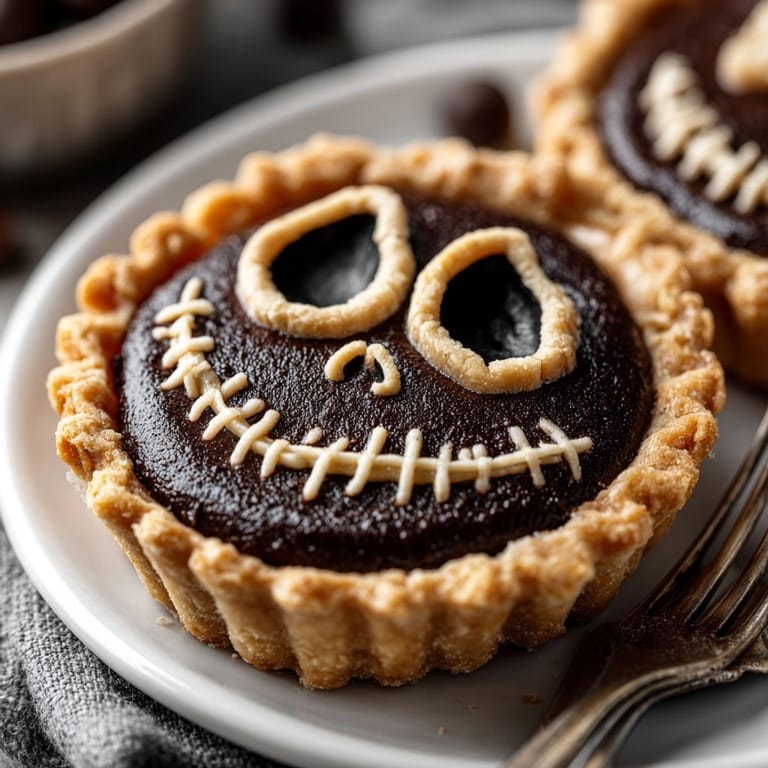
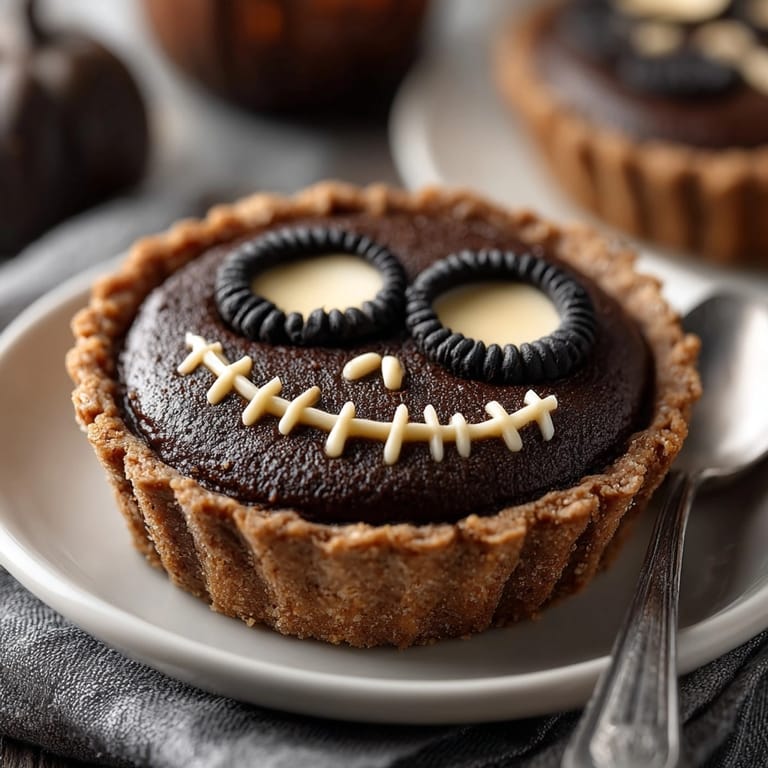
Save This Jack Skellington Pie is my go-to Halloween dessert that never fails to wow guests. The rich black cocoa filling delivers deep chocolate flavor while the spooky pastry face brings a dash of Tim Burton magic to the table. Perfect for sharing at parties or making an ordinary movie night feel extra festive.
I started making this themed pie for our annual Nightmare Before Christmas marathon three years ago. Every time I bring it out, my family crowds around—everyone wants a slice with part of Jack's stitched grin.
Ingredients
- All-purpose flour: gives the crust structure and a tender bite, go for unbleached flour for best flavor
- Unsalted butter: provides flaky richness, use cold, high-quality butter for the best texture
- Salt: enhances the crust and balances sweetness
- Ice water: ensures the dough comes together without getting sticky, always measure cold water for flakiness
- Granulated sugar: sweetens the filling and balances the deep cocoa
- Black cocoa powder: creates intense color and flavor, Dutch-processed cocoa works as a substitute if black is unavailable
- Bittersweet chocolate: adds smooth richness, look for at least 60 percent cacao for depth
- Unsalted butter in the filling: enriches and smooths out the chocolate
- Heavy cream: gives a luscious custardy texture, fresh cream makes a difference
- Large eggs: help set the filling and make it glossy, room temperature eggs blend easier
- Vanilla extract: rounds out the flavors, real extract is always more aromatic
- Egg yolk: is for the shiny golden egg wash on decorations, fresh eggs give deeper color
- Black gel food coloring: makes facial cutouts pop, optional for a dreamy black detail
- Extra pie dough: creates Jack's iconic face, chilling makes it easier to shape
Tired of Takeout? 🥡
Get 10 meals you can make faster than delivery arrives. Seriously.
One email. No spam. Unsubscribe anytime.
Instructions
- Make the Dough:
- Begin by mixing flour and salt in a big bowl. Cut cold butter into the flour using fingertips or a pastry cutter until it looks lumpy with small pea-sized bits. Now slowly add ice water, just enough for the mix to come together into a rough dough. Split this in half, flatten into disks, wrap tightly, and chill for half an hour so your crust will bake up perfectly flaky.
- Roll and Line the Pie Pan:
- Take one chilled disk and roll it out on a flour-dusted counter until it is wide enough for a nine inch pie dish. Gently ease the dough into the pan, pressing to fit without stretching. Trim any excess hanging off and pop the whole thing back in the fridge to chill while preparing the filling.
- Melt and Mix the Filling:
- In a heavy saucepan, combine sugar, cocoa, chopped chocolate, and butter. Warm over low heat, stirring always, until everything melts together and becomes smooth and glossy. Let the mixture cool slightly and then whisk in heavy cream, eggs, vanilla, and salt. Mix it very well until shiny and no streaks remain.
- Fill and Decorate:
- Pour your chocolate mixture into the chilled crust. Next, roll out the second disk of dough. Using a small knife or cutters, carefully create Jack's face, large oval eyes, tiny nostrils, and a stitched crescent mouth. Lay these pieces out on parchment for easy transfer. For extra richness and shine, paint the face pieces with egg yolk mixed with a drop of black food coloring.
- Assemble and Bake:
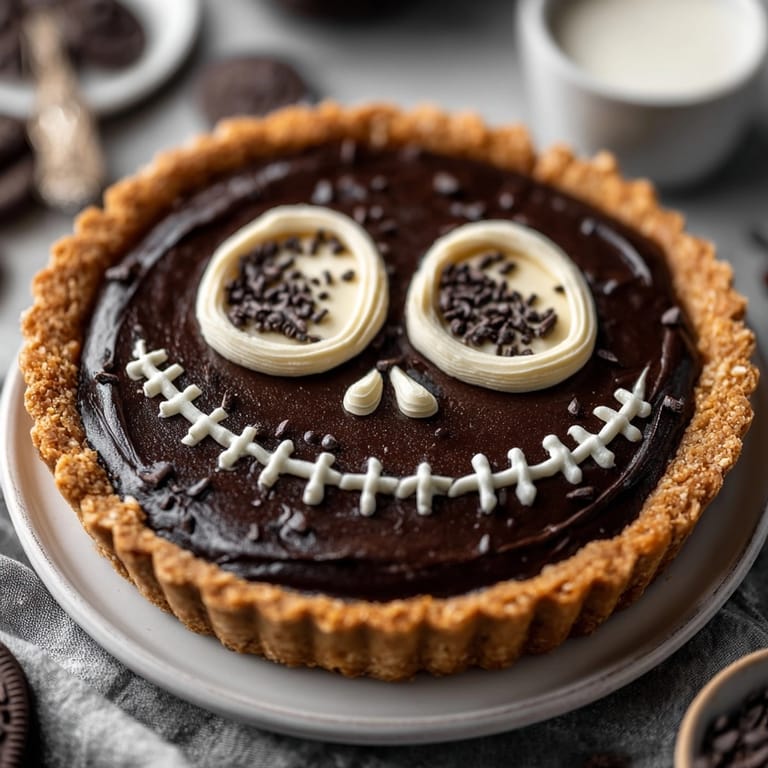
- Arrange Jack Skellington's features on top of the pie, creating his signature look. Slide the pie into a 350 degree oven and bake for forty five minutes. The filling should be mostly set with just a faint wobble in the center. Cool the pie completely before slicing so the filling sets up firm for picture perfect slices.
 Save
Save My kids always argue over who gets each eye or the mouth cutout. Bittersweet chocolate is my favorite part, it gives a grown up depth that everyone still loves.
Storage Tips
Wrapped tightly in foil or plastic, the pie keeps fresh in the fridge for three days. Always allow it to cool before wrapping for best texture. Freezing slices individually works well for longer storage, just defrost in the fridge overnight.
Ingredient Substitutions
Swap black cocoa for Dutch processed cocoa if that is what you have. Coconut cream works instead of heavy cream for a dairy free version. Gluten free flour blends can replace regular flour without fuss.
Serving Suggestions
Serve chilled with a soft dollop of whipped cream or classic vanilla ice cream. For extra fright night fun, scatter candy eyeballs or use colored sprinkles. The pie works as the centerpiece for a spooky dessert board alongside treats shaped like bats or ghosts.
Cultural and Historical Context
Jack Skellington is the beloved Pumpkin King from The Nightmare Before Christmas, a movie that bridges Halloween and Christmas. This pie pays tribute to his iconic monochrome style while adding a delicious twist perfect for American holiday tables.
Seasonal Adaptations
Use sweet potato puree for the filling in fall months for a twist. Try orange zest in the dough for a playful citrus note. Make mini pies for parties and give each guest their own Jack face.
Success Stories
At last year's costume party, guests raved about the presentation, some even took selfies with their pie slices. Children loved helping with the face cutouts, turning baking into a festive kitchen craft.
Freezer Meal Conversion
Bake the pie as instructed, then cool completely. Wrap whole or sliced pie tightly and freeze up to one month. Thaw overnight in the refrigerator and bring to room temperature before serving for best results.
 Save
Save This pie has become a tradition for both Halloween and movie nights, always sparking smiles around the table. Serve with whipped cream or ice cream for a final festive flourish.
Cooking Questions
- → How do I achieve the black color in the pie?
The dramatic black color comes from black cocoa powder. If unavailable, Dutch-processed cocoa offers a lighter shade.
- → Can I make the crust gluten-free?
Yes, substitute the all-purpose flour with a gluten-free flour blend for a similar texture.
- → What is the best way to create the Jack Skellington face?
Use extra pie dough to cut out eyes, nostrils, and a stitched mouth. A stencil or steady hand works well for shaping.
- → How should the pie be served?
Let the pie cool completely to set the filling. Serve with whipped cream or vanilla ice cream for contrast.
- → Can I prepare the chocolate filling ahead of time?
Yes, the filling can be made ahead and kept chilled, then poured into the crust just before baking.
- → Is the black food coloring necessary?
No, black food coloring is optional and used only for extra darkness on the face cutouts for visual effect.