 Save
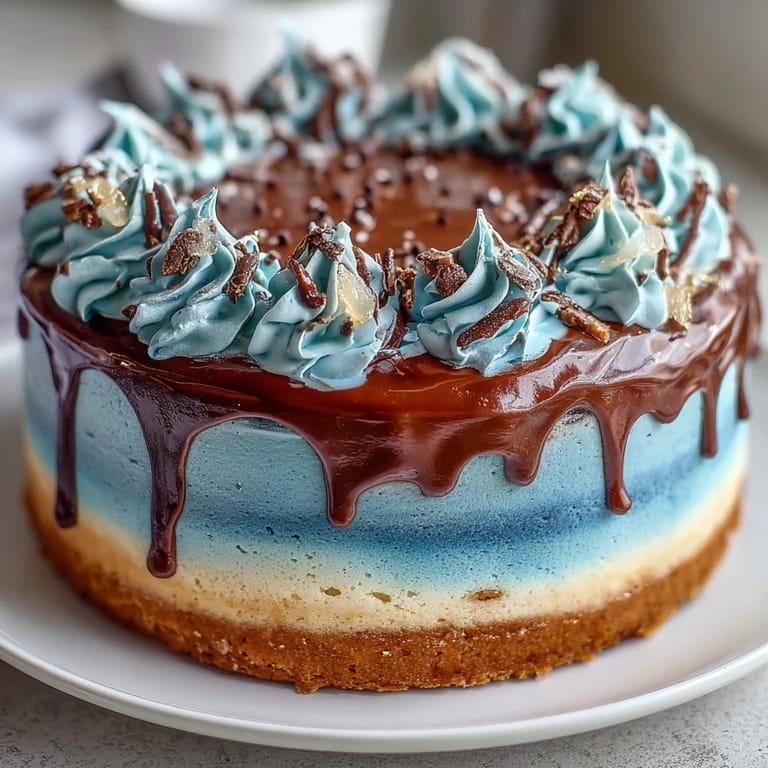
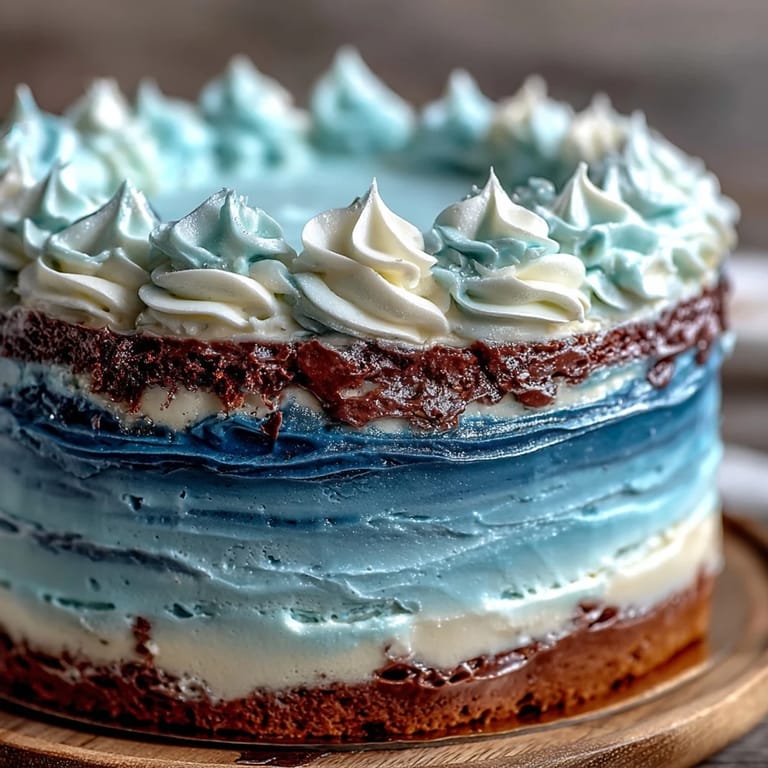
Save As the scent of vanilla and butter began to swirl around the kitchen, I found myself grinning at the anticipation of pulling off a dazzling graduation cake. The idea for a deep blue and gold ombre layer cake popped into my head while chatting with my nephew about his school colors. A cake this bold promised not just celebration, but a conversation starter—something to admire before slicing. There's a certain thrill when you unveil a cake and everyone pauses to look. This recipe is that kind of centerpiece, and every step feels like prepping for a grand reveal.
I remember making this graduation cake for my cousin's big day, where the excitement in the kitchen was nearly as high as outside. We joked about my less-than-perfect piping skills, but gleaming gold streaks made us forget those minor flaws. Each layer got a round of applause as it was stacked, and someone always sneaked a fingerful of buttercream when my back was turned. It wasn’t just dessert—it felt like a rite of passage, a project turned centerpiece. By the time we finished, our laughter had outlasted the frosting cleanup.
Ingredients
- All-purpose flour: Keeps the cake sturdy enough for layering—remember to measure by weight for consistency.
- Baking powder and baking soda: These ensure the layers rise subtly, giving you an even ombre gradient.
- Salt: Just a pinch sharpens the sweetness—don't skip it.
- Unsalted butter: Room temperature is crucial for a smooth, creamy batter and airy buttercream.
- Granulated sugar: Whipping it with butter until pale kicks off the perfect texture.
- Eggs: Make sure they're at room temp, so your cake layers don’t collapse.
- Vanilla extract: Enhances both the cake and buttercream with warmth—use pure, not imitation.
- Whole milk: Helps the batter stay moist and the color blend smoothly.
- Blue gel food coloring (navy, royal, light): Gel works best for vibrant color without thinning the cake.
- Powdered sugar: Sifting avoids lumps in buttercream—don’t skip this extra step.
- Milk or cream: Makes buttercream spreadable, adjust for consistency as needed.
- Edible gold leaf or gold dust: Adds elegance—handle with dry, clean hands and check that it’s safe for food use.
- Clear alcohol (vodka or lemon extract): Mixes with gold dust for smooth edges, evaporates without affecting taste.
Tired of Takeout? 🥡
Get 10 meals you can make faster than delivery arrives. Seriously.
One email. No spam. Unsubscribe anytime.
Instructions
- Get the pans ready:
- Grease three 8-inch pans and line them with parchment paper, smoothing edges so cakes release easily after baking.
- Mix the dry ingredients:
- Whisk flour, baking powder, baking soda, and salt—watch for fluffy clouds as you incorporate everything.
- Cream butter and sugar:
- Use your mixer to whip the butter and sugar until pale and airy, about 3 minutes; the bowl should smell richly sweet.
- Add the eggs and vanilla:
- Beat in the eggs one by one and pour in vanilla, scraping the bowl to catch hidden pockets of butter.
- Combine wet and dry:
- Add the flour mixture and milk in alternating pours, mixing gently so the batter stays feathery.
- Color and divide:
- Split the batter across three bowls, tinting each with gel color—from pale blue to intense navy—swirl gently for clean gradients.
- Bake the layers:
- Pour each batter into its pan and bake until a toothpick slides out clean, then cool for ten minutes before transferring.
- Prepare the buttercream:
- Beat butter on high until creamy; add powdered sugar slowly, then vanilla, salt, and enough milk to smooth texture.
- Tint the frosting:
- Reserve a cup for crumb coat; tint the rest dark blue, mixing until the color’s vibrant and spreadable.
- Layer and fill:
- Level cakes, then stack darkest to lightest, sandwiching buttercream between layers for dramatic stripes.
- Crumb coat and chill:
- Smooth a thin layer of reserved buttercream around the cake, then chill so the final coat glides on without picking up crumbs.
- Frost for ombre:
- Cover with blue buttercream, blending lighter shades at the top so the color melts upward—use an offset spatula for clean transitions.
- Add gold accents:
- Lay gold leaf in streaks or brush mixed gold dust along edges; pause to admire every shimmer.
- Chill and serve:
- Cool in the fridge until ready to present, letting those colors and gold shine at the celebration.
 Save
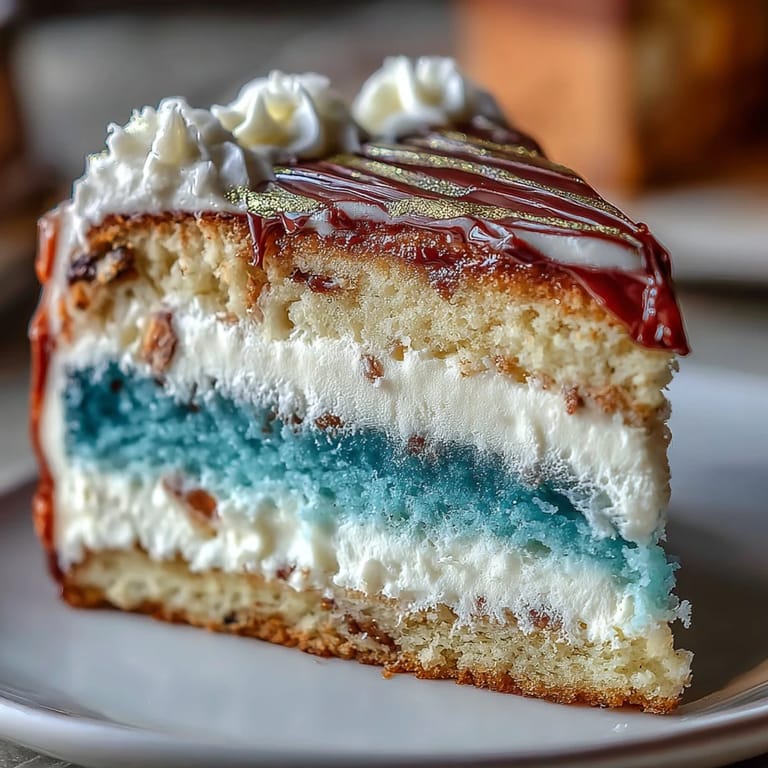
Save There’s a photo I cherish of everyone gathered in the kitchen, marveling at the layers as we cut. For a moment, it felt like we were celebrating more than graduation—each shade symbolized growth, each gold accent a triumph. Those laughter-filled first bites tasted sweeter than any cake from a bakery. Moments like that remind you why homemade desserts matter. Sometimes, all it takes is a slice to bring people closer.
Gold Accents That Make It Special
Brushing gold dust across the cooled buttercream is both nerve-wracking and oddly satisfying. Don’t rush—if your kitchen is humid, gold leaf might tear, so I always work gently and with clean hands. Mixing gold dust with vodka helps the shimmer stick firmly, but use a light hand so it doesn’t overpower the blues. The gold catches light at every angle, making the cake an instant centerpiece. Decorating becomes its own little celebration in the process.
Working with Ombre Colors
Getting a smooth ombre look means adding gel color gradually and blending just enough. I once mixed the colors too hastily and ended up with a patchy top layer, so patience is key. Swirl with your spatula, stepping back now and then to check the gradient. Remember—the lighter the touch, the prettier the effect. If you go too dark, adding a little white buttercream brings the shade back gently.
What to Serve Alongside
The beauty of this cake is that it pairs perfectly with bubbly drinks and simple fruit sides. A sparkling apple cider feels festive, but classic Prosecco elevates the moment even more. Fresh berries on the side add brightness and balance the sweetness.
- Chill the cake before slicing for cleaner layers.
- Use a hot knife to cut perfect slices.
- Store extras in an airtight container to keep gold accents crisp.
 Save
Save This graduation cake doesn’t just mark a milestone—it brings people together over each colorful layer. Celebrate boldly, and let every slice shine as much as the occasion itself.